Understanding the intricate components of a sewing machine unlocks a world of creative potential, enabling precise fabric manipulation and durable seam construction.
Essential for both beginners and experienced sewists, familiarizing yourself with the machine’s anatomy—from the spool pin to the feed dogs—is paramount.
Detailed parts lists and service manuals, often available as PDFs, provide invaluable insights into each component’s role and proper maintenance procedures.
These resources showcase diagrams illustrating the interplay between parts, ensuring efficient operation and longevity of your sewing machine investment.
Mastering these fundamentals empowers you to troubleshoot issues, perform repairs, and ultimately, elevate your sewing projects to professional standards.
Understanding the Importance of a Sewing Machine Manual
A sewing machine manual is far more than just a collection of instructions; it’s the definitive guide to understanding your specific machine’s capabilities and intricacies. Crucially, it contains detailed parts lists, often available as downloadable PDFs, showcasing every component from the spool pin to the feed dogs, complete with diagrams.
These manuals are essential for identifying parts during maintenance or repair, preventing incorrect replacements that could damage the machine. Furthermore, they outline proper usage, ensuring safety and optimal performance; Ignoring the manual can lead to improper threading, incorrect stitch selection, and even mechanical failures.
The manual also details recommended attachments and accessories, expanding the machine’s functionality. It emphasizes intended use and precautions, safeguarding both the user and the equipment. Accessing a PDF version allows for convenient searching and referencing, making it an indispensable resource for any sewist, regardless of experience level. Ultimately, the manual unlocks the full potential of your sewing machine.
Overview of Common Sewing Machine Types
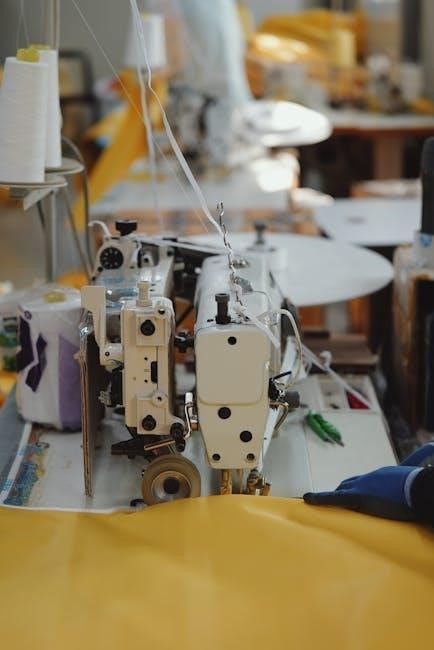
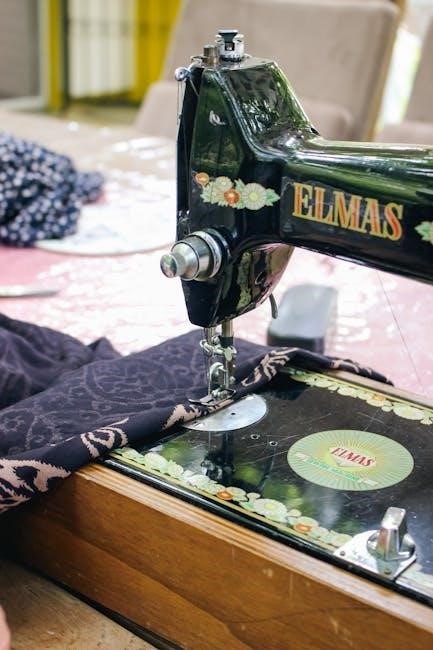
Sewing machines exhibit diverse designs tailored to specific needs, yet share fundamental parts detailed in accompanying manuals, often accessible as PDFs. Mechanical machines, the traditional workhorses, rely on manual operation and robust construction, showcasing visible components like the handwheel and belt.
Electronic machines introduce computerized controls for stitch selection and speed, enhancing precision and efficiency. Sergers, or overlock machines, specialize in finishing raw edges, utilizing multiple threads and unique components like loopers; Industrial machines, built for heavy-duty tasks, feature powerful motors and reinforced parts.
Understanding these distinctions is crucial when referencing parts lists and diagrams within a manual. Regardless of type, the core functions—thread delivery, needle motion, and fabric feeding—remain consistent. PDF manuals provide model-specific information, ensuring accurate identification of parts and proper maintenance procedures for each machine type.
Essential Sewing Machine Parts
Core components—spool pins, bobbins, needles, presser feet, and feed dogs—work harmoniously, detailed in parts lists and service manuals (often PDFs).
These elements facilitate thread handling, fabric clamping, and precise stitching, forming the foundation of sewing machine functionality.
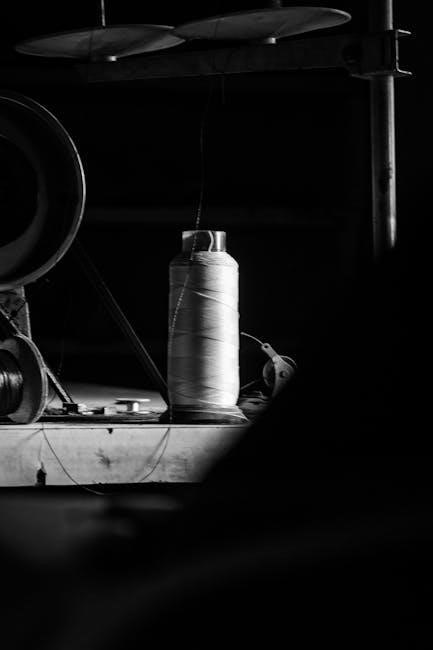
Spool Pin and Thread Guides
The spool pin, a seemingly simple component, is crucial for managing the supply of thread during sewing operations, as detailed in many sewing machine parts diagrams and PDF manuals;
Its primary function is to securely hold the spool, allowing it to unwind smoothly and consistently without tangling or snagging, which would disrupt the stitching process.
Thread guides, often integrated into the machine’s casing, work in tandem with the spool pin to direct the thread along the correct path towards the needle.
These guides minimize friction and ensure proper tension, vital for creating balanced and aesthetically pleasing stitches;
Variations exist; some machines feature retractable or adjustable spool pins to accommodate different spool sizes, while others utilize multiple thread guides for complex threading patterns.
Proper threading, following the machine’s manual, is essential for optimal performance, and understanding the spool pin and thread guide system is the first step towards achieving this.
Referencing a parts list PDF can help identify specific components and their correct placement, ensuring smooth and efficient thread delivery.
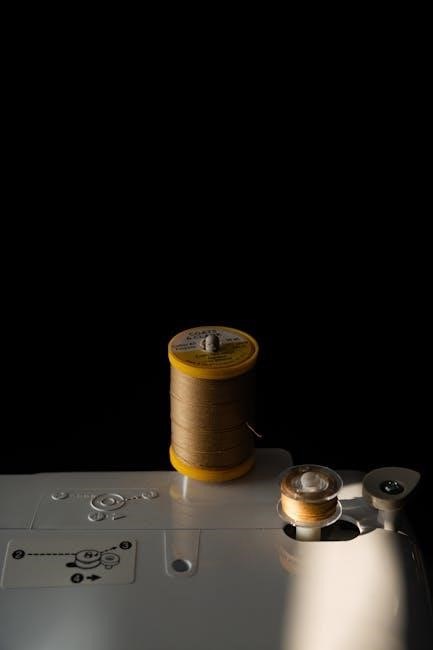
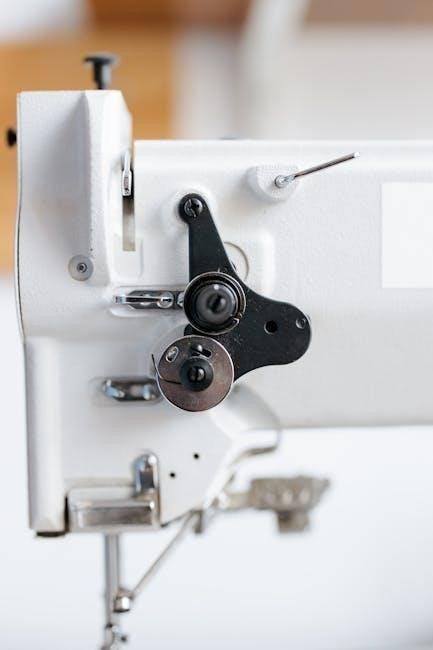
Bobbin Winder Spindle
The bobbin winder spindle is a dedicated mechanism responsible for transferring thread from the spool onto the bobbin, a critical step before commencing sewing, as illustrated in sewing machine parts diagrams and PDF manuals;
This spindle engages with a rubber tire or belt, driven by the machine’s motor, to rotate the bobbin at a controlled speed, ensuring even winding.
Proper bobbin winding is essential for consistent stitch quality; an unevenly wound bobbin can lead to tension issues and skipped stitches.
Most machines feature an automatic stop mechanism that disengages the winder once the bobbin is full, preventing overfilling and potential damage.
The spindle often has adjustable settings to accommodate different bobbin sizes and thread types.
Consulting your machine’s manual, often available as a PDF, provides specific instructions on engaging and disengaging the bobbin winder, as well as troubleshooting common issues.
A parts list PDF can aid in identifying and replacing a faulty bobbin winder spindle, ensuring continued smooth operation.
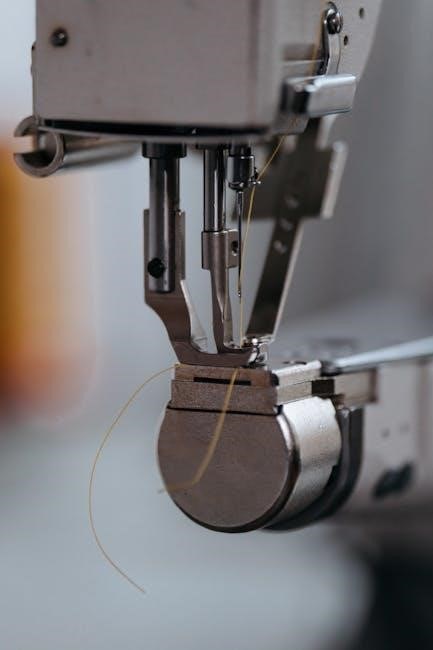
Needle and Needle Clamp
The needle, a fundamental component, pierces the fabric, forming the stitch when combined with the bobbin thread, as detailed in sewing machine parts diagrams and PDF manuals.
Needles vary in size, type, and point shape, selected based on fabric weight and weave; a universal needle suits many fabrics, while specialized needles exist for knits, leather, and denim.
The needle clamp securely holds the needle in place, ensuring it remains vertical during operation; it’s crucial to tighten the clamp firmly, but not excessively, to avoid breakage.
Regular needle replacement is vital, as dull or damaged needles can cause skipped stitches, fabric damage, and even machine malfunction.
A parts list PDF will show the correct needle system for your machine model.
Always refer to your machine’s manual, often a downloadable PDF, for proper needle insertion and clamp tightening procedures.
Incorrect installation can lead to needle breakage and potential injury.
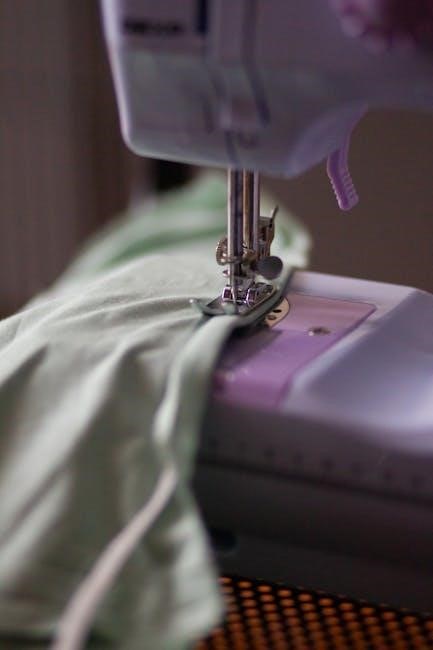
Presser Foot and Shank
The presser foot maintains consistent fabric tension against the feed dogs, crucial for even stitch formation, as illustrated in sewing machine parts diagrams and PDF manuals.
Various presser feet cater to specific tasks: a standard foot for general sewing, a zipper foot for close-to-edge stitching, and a buttonhole foot for precise buttonholes.
The shank connects the presser foot to the presser bar, allowing for vertical movement; it’s a vital link in the stitching process.
Adjusting presser foot pressure is essential for different fabric types; lighter fabrics require less pressure, while heavier fabrics need more.
A parts list PDF will detail compatible presser feet for your machine.
Proper attachment and alignment of the presser foot are critical for optimal performance.
Refer to your machine’s manual, often available as a PDF, for detailed instructions on changing and adjusting the presser foot and shank.
Feed Dogs and Drop Feed Mechanism
Feed dogs, located beneath the presser foot, are toothed metal components that advance the fabric during sewing, ensuring consistent stitch length, as detailed in sewing machine parts PDFs.
Their rhythmic movement, coordinated with the needle, pulls the fabric forward after each stitch, creating a neat and even seam.
The drop feed mechanism allows the feed dogs to be lowered, disengaging their fabric-feeding action.
This feature is essential for free-motion quilting, darning, and embroidery, where the user controls fabric movement.
A service manual PDF will illustrate how to engage and disengage the drop feed.
Maintaining clean feed dogs is crucial; lint and debris can hinder their movement and affect stitch quality.
Refer to your machine’s manual, often a downloadable PDF, for specific instructions on cleaning and adjusting the feed dogs and drop feed mechanism.

Key Functional Components
Essential operational elements—the handwheel, power switch, motor, belt, and tension system—work harmoniously to drive the sewing process, as PDFs explain.
Understanding these components, detailed in service manuals, is vital for efficient sewing and troubleshooting any operational issues.
Operating Control (Handwheel & Power Switch)
The operating control, encompassing both the handwheel and the power switch, forms the primary interface for controlling the sewing machine’s functionality, as detailed in comprehensive parts and service manuals often available in PDF format.
The handwheel allows for precise, manual control of the needle’s position, crucial for intricate work, starting/stopping at specific points, and carefully navigating corners or curves.
Rotating the handwheel clockwise lowers the needle, while counter-clockwise raises it; this manual override is invaluable for delicate fabrics or complex patterns.
The power switch, typically a simple on/off mechanism, activates the motor, initiating the automatic sewing process.
Modern machines may feature variable speed control integrated with the power switch, offering greater precision and adaptability for different materials and techniques.
PDF diagrams often highlight the location and operation of these controls, emphasizing their importance in achieving accurate and consistent stitching.
Proper understanding of both the handwheel and power switch is fundamental for safe and effective operation of any sewing machine.
Motor and Flywheel
The motor and flywheel constitute the powerhouse of a sewing machine, converting electrical energy into the mechanical motion necessary for stitching, as illustrated in detailed parts lists and service manuals often found as PDFs.
The motor, typically electric, drives the flywheel, a heavy wheel connected to the machine’s internal mechanisms.
The flywheel’s inertia smooths out the motor’s power delivery, ensuring consistent and even stitching speed, preventing jerky movements.
Older machines may utilize a treadle mechanism, where foot power rotates the flywheel, eliminating the need for an electric motor.
PDF diagrams frequently showcase the motor’s mounting and wiring, alongside the flywheel’s connection to the crankshaft.
Maintaining proper motor speed and flywheel balance is crucial for optimal performance and longevity.
Regular lubrication, as outlined in the machine’s manual, ensures smooth operation and prevents overheating of the motor components.
Belt and Tension System
The belt and tension system are critical for transferring power from the motor to the machine’s working parts, detailed in sewing machine parts lists and service manuals available as PDFs.
Typically, a V-type (35V) or O-type (1041) belt connects the motor’s pulley to the flywheel’s pulley, transmitting rotational force.
Proper belt tension is paramount; too loose, and power transfer is inefficient, causing skipped stitches, while too tight strains the motor and bearings.
The tension system, including tension discs and springs, regulates the thread flow, ensuring balanced stitch formation.
PDF diagrams illustrate belt routing and tension adjustment mechanisms, vital for maintaining consistent stitch quality.
Adjusting the tension compensates for different thread types and fabric weights, preventing looping or puckering.
Regular inspection and replacement of worn belts, as per the manual, are essential for reliable operation and preventing machine damage.
Oil Pump and Lubrication System
The oil pump and lubrication system are fundamental to a sewing machine’s longevity, meticulously detailed in downloadable PDF parts lists and service manuals.
These systems deliver oil to critical moving parts – the needle bar, shuttle, and connecting rods – minimizing friction and wear.
Components include the oil pump itself, oil pipes (like the 22T8-013D for the upper shaft), and oil reservoirs.
Oil flows through channels and wicks, ensuring consistent lubrication even during high-speed operation.
PDF diagrams clearly illustrate the oil flow paths and the location of oiling points, crucial for proper maintenance.
Covers, such as the 15WF4-004 for the oil pump, protect these components from dust and debris.
Regular oiling, following the manufacturer’s recommendations in the manual, prevents seizing and extends the machine’s lifespan.
Advanced Parts & Mechanisms
Detailed PDF manuals showcase complex systems like four-thread overlock stitches, V-type/O-type belts (35V, 1041), and specialized oil pump components.
Understanding these advanced mechanisms requires careful study of exploded diagrams and parts lists for optimal performance.
Four-Thread Overlock Stitch Components
The four-thread overlock stitch, a cornerstone of professional garment construction, relies on a precise interplay of specialized components detailed within comprehensive sewing machine parts PDFs.
These manuals illustrate the function of the upper and lower loopers, crucial for forming the interlocked stitches that prevent fabric fraying and provide stretch.
The feed dogs, working in concert with the loopers, advance the fabric evenly, ensuring consistent stitch formation.
Differential feed, a key feature of overlock machines, is controlled by separate feed mechanisms, allowing for adjustments to prevent puckering or stretching of delicate fabrics.
Tension discs regulate the thread flow to each looper, maintaining balanced stitch integrity.
The stitch finger guides the fabric path, ensuring proper alignment with the loopers.
Detailed diagrams within the PDF highlight the precise positioning and interaction of these parts, enabling accurate assembly and troubleshooting.
Proper lubrication of these components, as outlined in the manual, is vital for smooth operation and longevity.
Understanding these intricacies empowers sewists to achieve professional-quality overlock seams.
V-Type and O-Type Belts (35V, 1041)
Sewing machine operation heavily relies on the efficient transfer of power from the motor to the machine’s mechanisms, a task primarily handled by belts – specifically V-type (35V) and O-type (1041) belts.
Detailed parts lists and service manuals, often available as PDFs, illustrate the distinct characteristics and applications of each belt type.
V-belts, characterized by their trapezoidal cross-section, offer superior grip and power transmission, ideal for heavier-duty machines.
O-belts, with their circular profile, provide quieter operation and are often found in lighter-duty models.
The PDF diagrams showcase proper belt installation and tensioning procedures, crucial for preventing slippage and ensuring optimal performance.
Correct belt tension is paramount; too loose, and power transfer is compromised; too tight, and it strains the motor and bearings.
Regular inspection for wear and tear, as detailed in the manual, is essential for preventing unexpected breakdowns.
Understanding these belt specifications and maintenance guidelines ensures smooth and reliable sewing machine operation.
Covers and Oil Pump Components (15WF4-004, 22T8-006)
Maintaining proper lubrication is vital for the longevity and smooth operation of any sewing machine, and the oil pump system plays a crucial role in this process.
Parts lists and service manuals, frequently found as PDFs, detail the components of this system, including covers (15WF4-004, 22T8-006) and the pump itself.
These covers protect the delicate oil pump mechanism from dust and debris, ensuring consistent and reliable lubrication.
The PDF diagrams illustrate the precise placement and securing of these covers, preventing contamination and maintaining optimal pump function.
Regular inspection of the oil pump and its components, as outlined in the manual, is essential for identifying potential issues.
Proper oil levels and pump operation guarantee that all moving parts receive adequate lubrication, reducing friction and wear.
Understanding the function and maintenance of these components, guided by the manual, contributes to a longer machine lifespan.
Oil Pipe for Upper Shaft (22T8-013D)
The oil pipe, identified as part number 22T8-013D, is a critical component in the lubrication system of many sewing machines, specifically directing oil to the upper shaft.
Service manuals and parts lists, often available in PDF format, provide detailed diagrams illustrating the pipe’s routing and connection points.
This pipe ensures that the upper shaft bearings receive adequate lubrication, minimizing friction and preventing premature wear and tear.
A damaged or blocked oil pipe can lead to insufficient lubrication, causing the machine to operate noisily or even seize up.
The PDF documentation outlines the correct installation procedure, emphasizing the importance of a secure fit to prevent oil leaks.
Regular inspection of the oil pipe for cracks, kinks, or blockages is recommended as part of routine maintenance.
Replacing a faulty oil pipe with the correct part (22T8-013D) restores proper lubrication and extends the machine’s operational life.

Decoding Sewing Machine Diagrams
PDF manuals contain essential diagrams; parts lists detail components, while schematics illustrate assembly and function.
Locating parts within these visuals requires understanding symbols and referencing the accompanying parts list for identification.
Reading a Parts List
A sewing machine parts list, frequently found within a service manual PDF, is a crucial resource for identification and ordering replacements.
Typically organized numerically or alphabetically, each entry corresponds to a specific component of the machine, accompanied by a part number.
These numbers are universally recognized by sewing machine parts suppliers, ensuring accurate ordering and compatibility.
The list often includes a brief description of the part, its quantity required per machine, and sometimes, diagrams illustrating its location.
Understanding the list’s structure is key; cross-referencing with the exploded view diagrams within the manual is essential for visual confirmation.
Pay close attention to model-specific variations, as part numbers can differ even between similar machines.
Carefully review the list before disassembling your machine, noting the orientation and placement of each part for successful reassembly.
Accurate interpretation of the parts list minimizes errors and streamlines the repair process, saving time and frustration.
Understanding Schematic Diagrams
Schematic diagrams, commonly found within sewing machine service manuals in PDF format, represent the machine’s internal workings using symbolic representations of parts.
Unlike exploded views, schematics prioritize functional relationships rather than precise visual depiction, illustrating how components interact.
Lines indicate connections – mechanical linkages, electrical circuits, or fluid pathways – crucial for understanding operation.
Symbols represent specific parts; learning these symbols is vital for deciphering the diagram’s information.
Tracing the flow of power or motion through the schematic reveals the sequence of events during a sewing cycle.
These diagrams are invaluable for troubleshooting, pinpointing the source of malfunctions by following the affected pathway.
Referencing the parts list alongside the schematic allows identification of components within the diagram’s symbolic representation.
Mastering schematic reading unlocks a deeper understanding of the machine’s complex mechanisms and facilitates effective repairs.
Locating Parts in a Manual
Sewing machine manuals, often available as comprehensive PDF documents, typically feature detailed parts lists and diagrams for easy component identification.
These lists are usually organized numerically or alphabetically, corresponding to reference numbers on exploded view diagrams.
Begin by identifying the model number of your machine, ensuring you’re referencing the correct manual and parts list.
Locate the section dedicated to parts diagrams, often categorized by machine assembly – head, bed, or motor.
Cross-reference the part you need with the diagram, noting its corresponding reference number.
Then, find that number on the parts list to determine the official part name and number for ordering replacements.
Some manuals include a parts index, allowing direct lookup by part name, streamlining the identification process.
Digital PDFs often offer search functionality, enabling quick location of specific parts or keywords within the manual.
Safety and Maintenance
Prioritize safety by adhering to the manual’s precautions, utilizing recommended attachments, and understanding the machine’s intended use for optimal performance.
Regular lubrication, as detailed in the PDF, extends machine life, while proper handling prevents accidents and ensures consistent sewing quality.
Recommended Attachments and Accessories
Expanding your sewing capabilities relies heavily on utilizing the correct attachments and accessories, often detailed within your sewing machine’s PDF manual.
Essential accessories include a variety of presser feet – a zigzag foot for decorative stitches, a buttonhole foot for precise buttonholes, and a zipper foot for navigating close seams.
Bobbin cases, needles in assorted sizes, and thread spools are fundamental consumables, while seam rippers and lint brushes aid in maintenance and error correction.
Specialty attachments, like gathering feet or edge stitching feet, unlock advanced techniques, enhancing project versatility.
The manual’s parts list will specify compatible accessories for your specific model, preventing damage and ensuring optimal performance.
Investing in quality accessories, guided by the PDF documentation, elevates your sewing experience and unlocks a wider range of creative possibilities.
Always refer to the manual for proper installation and usage instructions to maximize the benefits of each attachment and accessory.
Intended Use and Precautions
Your sewing machine, as outlined in its accompanying PDF manual, is designed specifically for fabric-related sewing applications; deviating from this intended use can cause damage.
Crucially, the manual emphasizes using only manufacturer-recommended attachments and accessories, ensuring compatibility and preventing mechanical failures.
Never attempt to sew materials not intended for sewing machines, such as leather or excessively thick fabrics, without appropriate modifications and tools.
Always disconnect the power supply before performing any maintenance, including changing the needle or cleaning the bobbin area, to avoid electrical shock.
Keep fingers and other body parts clear of the needle and moving parts during operation, adhering to all safety warnings detailed in the manual.
Regular lubrication, as described in the PDF, is vital for smooth operation and preventing wear and tear; improper lubrication can lead to malfunctions.
Prioritize safety and follow the manual’s precautions to ensure a long and productive life for your sewing machine.